
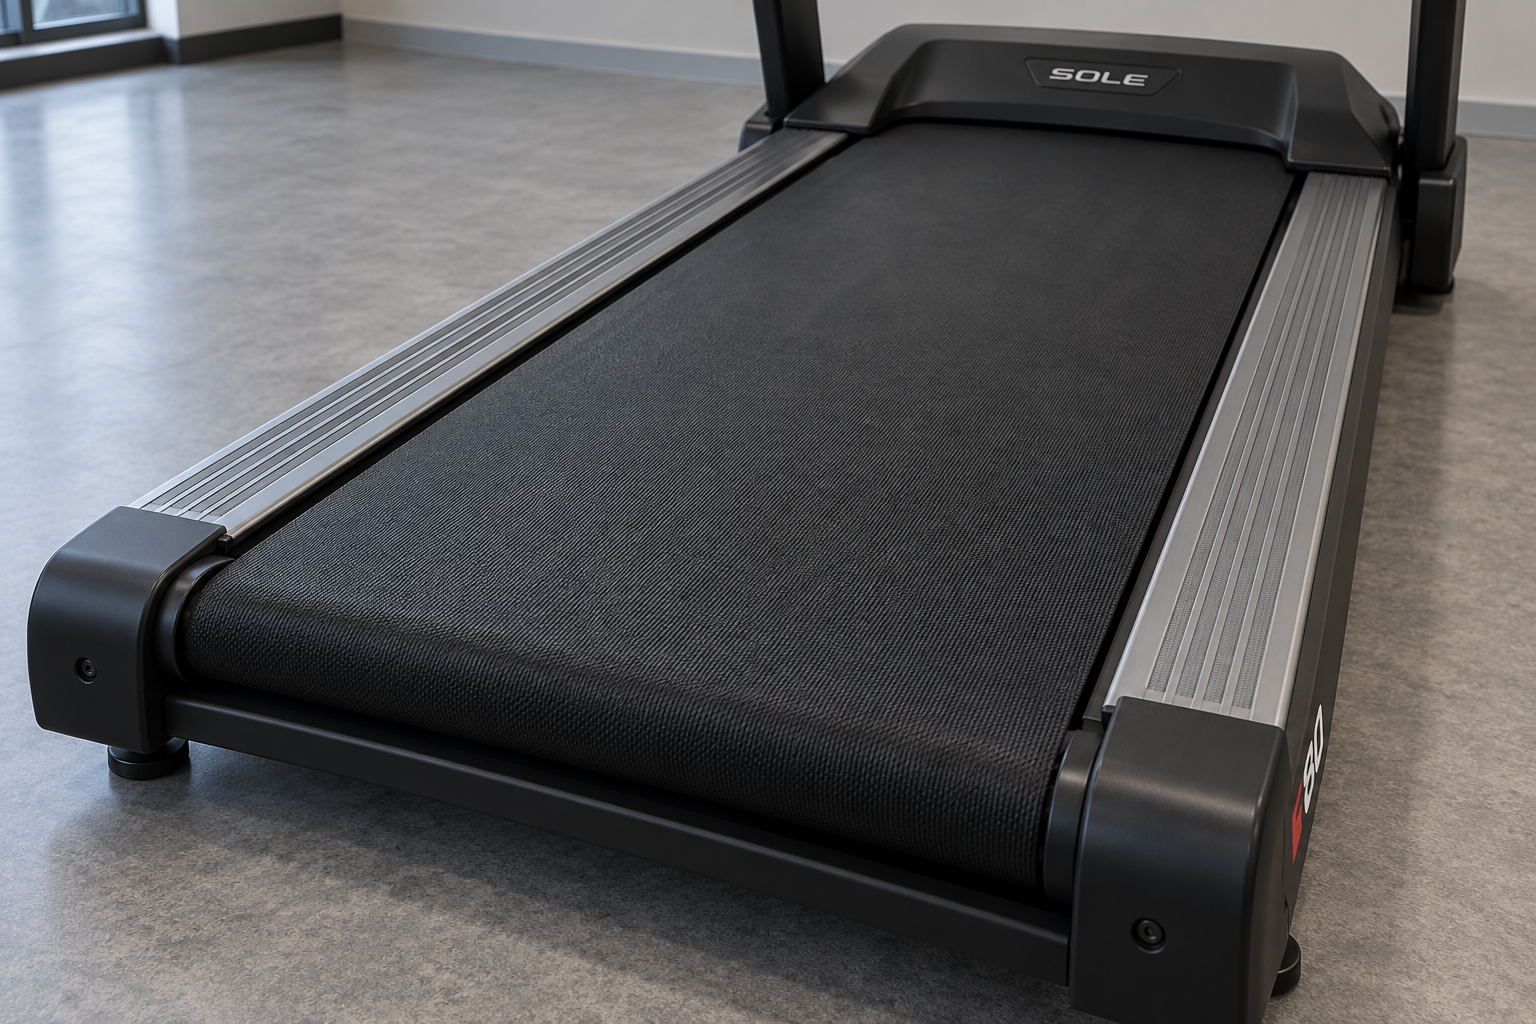
Sole Treadmill Belt Slipping? Here’s How to Diagnose and Fix It
A treadmill belt that slips, stutters, or hesitates underfoot is one of the most common — and most fixable — problems Sole treadmill owners face. Before you call a repair technician or assume your machine is done, run through this diagnostic guide. In the majority of cases, the fix is a tension adjustment, a lubrication session, or a belt replacement you can complete yourself in under an hour.
Step 1: Identify the Symptom
“Belt slipping” covers two distinct problems with different causes and different fixes. Identifying which one you have determines everything that follows.
Symptom A — Belt Hesitation (Jerks or Stutters When You Step On It)
The belt pauses or slows noticeably each time your foot strikes the deck, then catches back up. The motor is running, but the belt is dragging. This is almost always a lubrication problem: the walking belt is dragging across a dry deck, creating friction that momentarily overpowers the motor’s pull.
Fix: Lubricate the deck with 100% silicone treadmill lubricant. See our complete lubrication guide for step-by-step instructions.
Symptom B — Belt Slipping on the Rollers (Slips Backward Under Foot Strike)
The belt slides backward when you apply your weight, as if the roller is spinning inside a loose tube. The motor is pulling, but the belt is not gripping. This is a tension problem: the belt has stretched or the rear roller adjustment bolts have loosened over time.
Fix: Re-tension the belt using the rear roller adjustment bolts (details in Step 3 below).
Step 2: Check Belt Condition Before You Adjust Anything
Unplug the treadmill, remove the safety key, and inspect the underside of the walking belt. Look for:
- Fraying or cracking along the edges — indicates a belt that has exceeded its service life and needs replacement, not just re-tensioning
- Glazed or shiny backing surface — indicates excessive heat from friction; the belt may be salvageable with lubrication if caught early, but a severely glazed belt should be replaced
- Uneven wear pattern — if one side of the belt is more worn than the other, the belt has been tracking off-center; re-center before re-tensioning
- White powder residue — this is normal factory lubricant breaking down and is not a problem; wipe it away with a dry microfiber cloth
If the belt backing looks structurally sound, proceed to tension adjustment. If you see fraying, cracking, or severe glazing, plan on a belt replacement — adjusting a worn-out belt only delays the inevitable and risks damaging your motor.
Step 3: Adjust Belt Tension
The correct tension allows you to lift the center of the belt approximately 3 to 4 inches off the deck surface. Less than that and the belt is too tight; more and it is too loose.
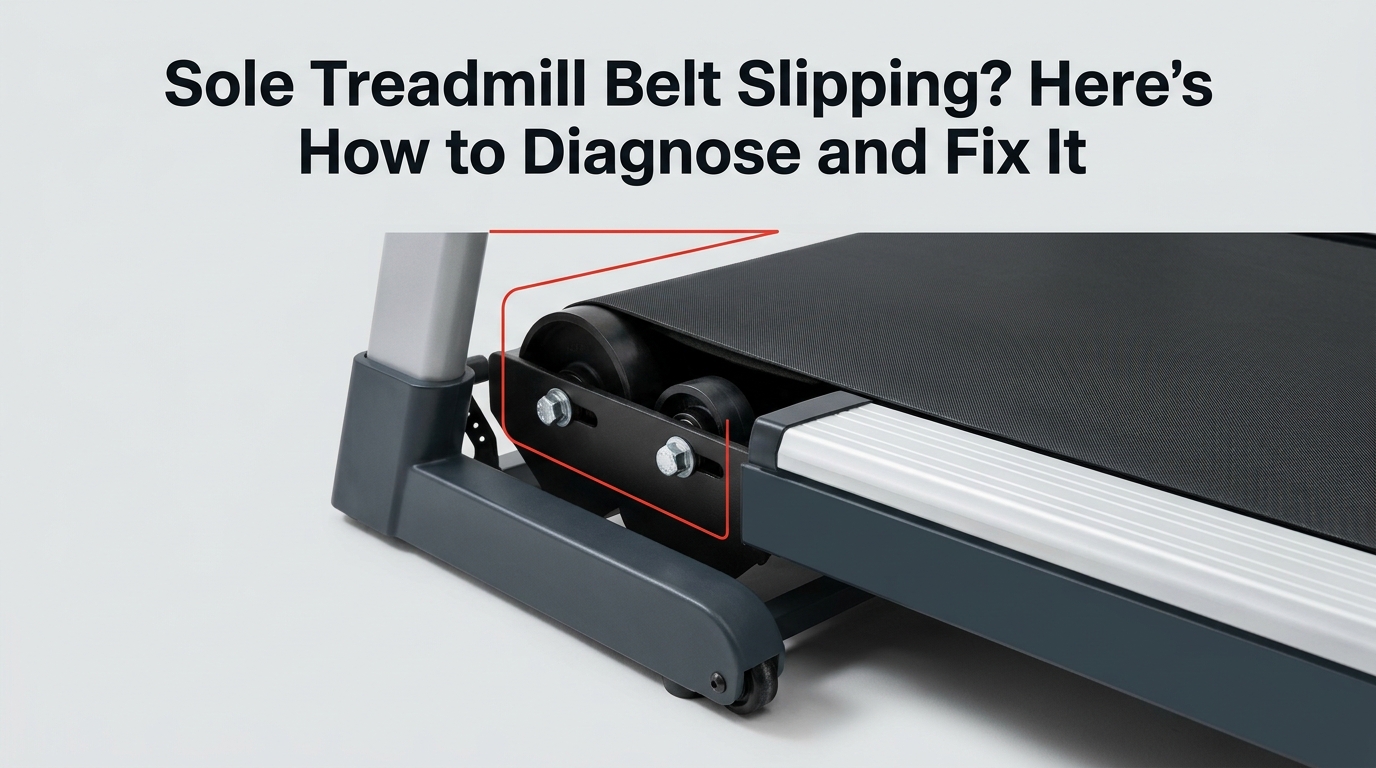
- Locate the rear roller adjustment bolts on the left and right sides at the back of the treadmill deck.
- Using the Allen wrench (hex key) that came with your machine, turn both bolts clockwise by 1/4 turn at a time. Always adjust both sides equally to keep the belt centered.
- After each adjustment, check the lift. Stop when you can lift the center of the belt 3 to 4 inches.
- Plug the treadmill back in and run it unloaded at 2–3 mph for 2 minutes to check for slipping.
- Step on carefully and walk at low speed. If slipping is resolved, you are done. If it persists, make one additional 1/4-turn adjustment per side.
Important: Do not over-tighten. Excessive tension stresses the rear roller bearings and accelerates belt wear. If you have adjusted beyond 1/2 turn total and still experience slipping, the belt has stretched past the point where tensioning will help — it is time for a replacement belt.
Step 4: Re-Center a Tracking Belt
If the belt drifts to one side after tensioning, adjust tracking while the treadmill runs at 3 mph:
- Belt drifting left → turn the left rear bolt 1/4 turn clockwise
- Belt drifting right → turn the right rear bolt 1/4 turn clockwise
Make one adjustment at a time and wait 30 seconds to observe the result before making another.
Step 5: Lubricate After Tensioning
Any time you loosen and re-tighten the belt, follow up with a lubrication pass. Tensioning alone will not restore lost lubrication — and a properly tensioned belt on a dry deck will still hesitate. Apply approximately 1 oz of 100% silicone treadmill lubricant under the belt in a zigzag pattern, then run the belt unloaded for 2 minutes to distribute the lubricant evenly.
Never use WD-40, household oil, or silicone sprays containing petroleum solvents. Petroleum distillates degrade belt backings, strip deck coatings, and damage plastic components. Use only lubricant rated specifically for treadmill decks.
When to Replace the Belt Instead of Adjusting It
Replace your Sole walking belt when:
- The belt is visibly frayed, cracked, or delaminating
- You have adjusted tension past 1/2 turn and slipping continues
- The belt surface has a glazed or hardened backing that no longer accepts lubrication
- The belt has been in service for several years of regular use
Sole treadmill walking belts are model-specific. The Sole F63, F80, F85, TT8, and other models each use belts with different dimensions and backing specifications. Always verify compatibility by model number before ordering.
Need Help Identifying the Right Belt?
Your model number is printed on a sticker on the treadmill frame — typically below the power cord, at the base corner, or along the left side frame where the upright meets the base. Once you have your model number, our team can confirm the correct replacement belt for your machine.
Call us at 717-303-3686, email support@solefitnessparts.com, or browse our catalog of authorized OEM Sole Fitness replacement belts. We ship domestic orders within 24–36 business hours, and local pickup is available at our York, PA facility seven days a week.