
Restoring Your Sole F80 Treadmill to Peak Performance
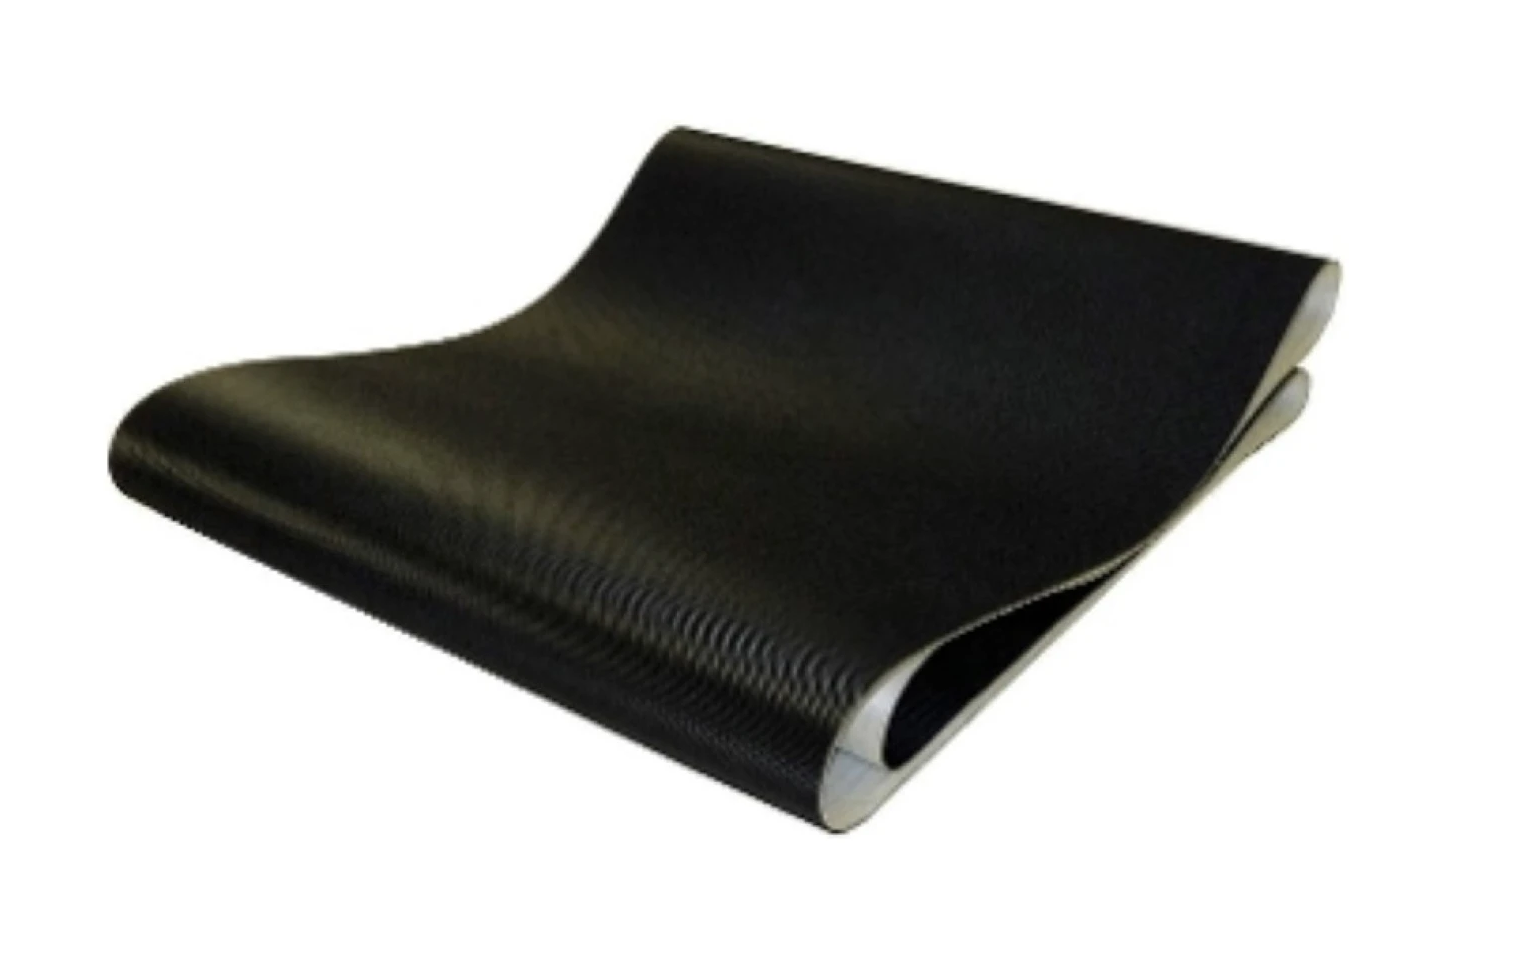
Is your Sole F80 treadmill starting to slip, hesitate, or show visible wear along the walking belt? Don’t bench your daily workout routine or pay hundreds of dollars for a service technician visit. Replacing your walking belt is a straightforward DIY project when you have clear instructions, basic hand tools, and genuine Original Equipment Manufacturer (OEM) parts.
The Sole F80 is widely celebrated as one of the most durable and reliable treadmills in home fitness. However, like any high-performance fitness machine, heavy-wear components such as the walking belt naturally experience friction, stretching, and surface degradation over time. Whether you use your treadmill for daily marathon training or brisk daily walks, installing a fresh walking belt restores smooth traction, protects your drive motor, and extends the overall lifespan of your equipment.
Why Authorized OEM Parts Are Critical for Heavy-Wear Repairs
When searching for a replacement walking belt, you may encounter low-cost generic aftermarket options. While these alternatives might seem appealing initially, using non-OEM belts introduces significant long-term risks to your machine:
- Engineered Friction Coefficients: Genuine Sole F80 walking belts feature a multi-ply design with top-grade surface texturing and a low-friction underside lining specifically matched to Sole running decks. Generic belts often use harsher backing materials that create excessive drag.
- Drive Motor & Board Protection: Higher friction directly increases electrical amperage draw. Over time, an improper aftermarket belt forces your motor to work harder, risking blown motor control boards and premature motor burnout.
- Precise Fit & Tensioning: OEM belts are manufactured to exact dimensional tolerances. Generic belts frequently stretch unevenly, leading to persistent tracking issues, edge fraying, and constant slippage.
Investing in authentic components from Sole Fitness Parts guarantees that your replacement belt aligns perfectly with factory specifications, ensuring quiet operation and complete peace of mind.
Tool Checklist & Preparation
Before beginning your belt replacement, gather the following tools and supplies to ensure a seamless repair process:
- Allen Wrench Set: Specifically a 3/16-inch (or 6mm) hex key for rear roller adjustment bolts.
- Screwdriver Set: Phillips head and flathead screwdrivers for motor hood and frame fasteners.
- Socket Wrench Set: Required for loosening deck bolts and structural frame hardware.
- 100% Silicone Treadmill Lubricant: Essential for protecting the deck and new belt during initial startup.
- Clean Microfiber Cloths: For wiping down the deck, rollers, and motor compartment.
- Painter’s Tape or Marker: To mark initial roller bolt positions for quick reference.
Safety Warning: Power Down Before Servicing
Always turn off the master power switch and unplug your Sole F80 treadmill from the wall outlet before removing protective covers or adjusting mechanical components. Working on a powered treadmill creates severe electrical shock and mechanical pinch hazards.
Step-by-Step DIY Belt Replacement Guide
Follow these sequential phases to replace the walking belt on your Sole F80 treadmill safely and accurately.
Step 1: Preparation & Hood Cover Removal
- Unplug the treadmill and clear a spacious work area around the machine.
- Using your Phillips head screwdriver, remove the screws securing the front motor hood cover to the base frame.
- Carefully lift off the motor hood and set it aside. Use this opportunity to vacuum accumulated dust out of the motor housing.
Step 2: Removing Side Rails and Rear Roller
- Unscrew and slide off the left and right foot rails flanking the running deck to expose the deck attachment screws.
- Locate the rear roller adjustment bolts at the back of the treadmill frame. Use painter’s tape to mark the bolt threads or count the counterclockwise turns as you remove them.
- Unscrew both rear roller bolts completely, slide the rear roller out from inside the old walking belt loop, and wipe the roller surface clean.
Step 3: Unbolting the Running Deck & Extracting the Old Belt
- Use your socket wrench to remove the deck bolts that secure the running deck to the frame elastomers and cushions.
- Lift one side of the running deck slightly to gain clearance.
- Slide the front drive belt off the drive pulley if needed, then slide the worn walking belt off the front roller and deck assembly entirely.
- Inspect the wooden running deck surface. If the deck surface is heavily grooved, flip or replace the deck; if smooth, clean all dust and old lubricant off with a microfiber towel.
Step 4: Installing the New OEM Sole F80 Belt
- Unroll your new OEM Sole F80 walking belt and carefully slide it over the running deck and around the front drive roller.
- Align the deck back onto its rubber frame cushions and re-tighten all deck mounting bolts securely.
- Guide the rear roller back inside the rear loop of the new walking belt and thread the left and right rear adjustment bolts back into the frame by hand.
Step 5: Tensioning, Lubrication, and Centering
- Tighten both rear roller bolts evenly using equal turns until the walking belt is snug across the deck.
- Lift the edge of the belt at the center of the deck and apply 100% silicone lubricant evenly across the deck surface in a zigzag pattern.
- Plug the treadmill into power and stand on the side foot rails. Start the treadmill at a low speed of 1.0 to 2.0 MPH.
- Observe belt tracking:
- If the belt drifts toward the right, turn the right adjustment bolt clockwise 1/4 turn.
- If the belt drifts toward the left, turn the left adjustment bolt clockwise 1/4 turn.
- Check belt tension by walking on the unit at 2.0 MPH. If the belt slips when you plant your foot, tighten both rear bolts equally in 1/4-turn increments until slipping stops.
- Reinstall the side foot rails and the motor hood cover once alignment is verified.
Maximizing Your Treadmill Investment
Replacing your walking belt with genuine parts is one of the most cost-effective ways to maintain the studio-grade feel of your Sole F80. Regular lubrication every 3 to 6 months and routine dust removal will keep your new belt running smoothly for years to come.
Ready to restore your treadmill’s performance? Explore authorized replacement components on our Sole Fitness Parts Store or browse our complete collection of genuine Sole F80 replacement parts to keep your fitness journey moving forward.